AuthorTopic: Propshaft Joint Replacement Step by Step with Pics  (Read 60309 times)

0 Members and 1 Guest are viewing this topic.

Offline solihull-mick

  • Posts: 986
  • Attack: 100
    Defense: 100
    Attack Member
  • Karma: +0/-0
  • Referrals: 0
Propshaft Joint Replacement Step by Step with Pics
« on: November 05, 2008, 11:55:08 »
Ok, here goes,


Identify which joint is in trouble, remove all circlips from bearing cups, they will be seized so a small whack with a hammer always works. 
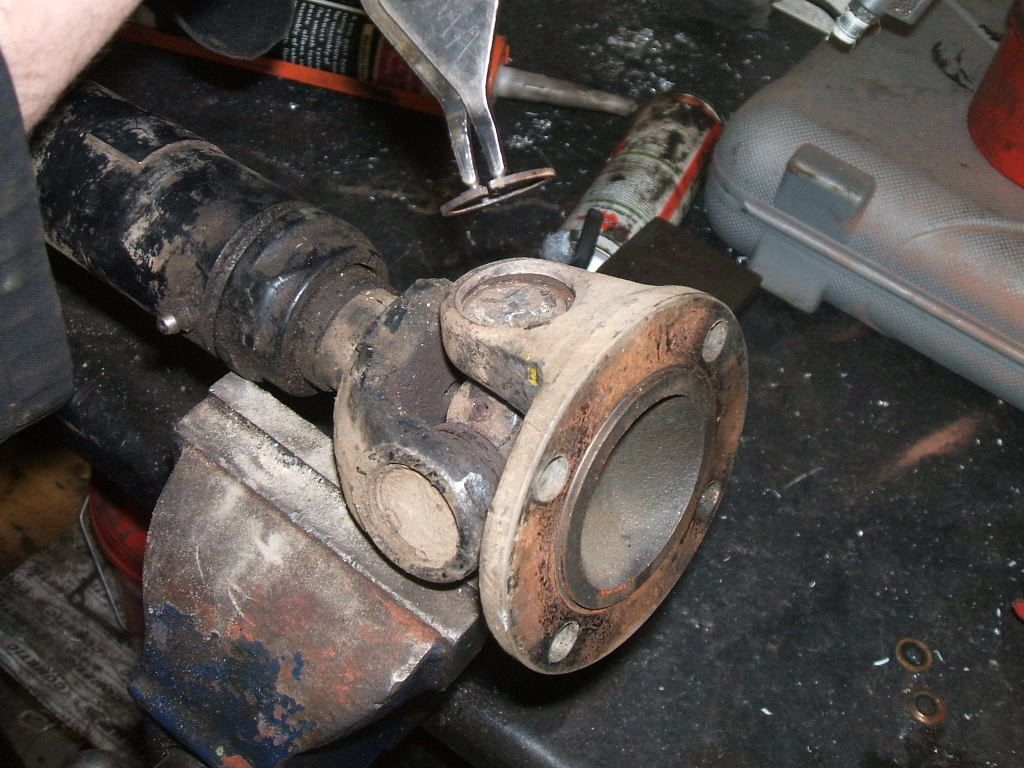


Place joint in vice as shown in pic, hit with hammer on prop joint, you should see the bearing cup rise from the yoke. 
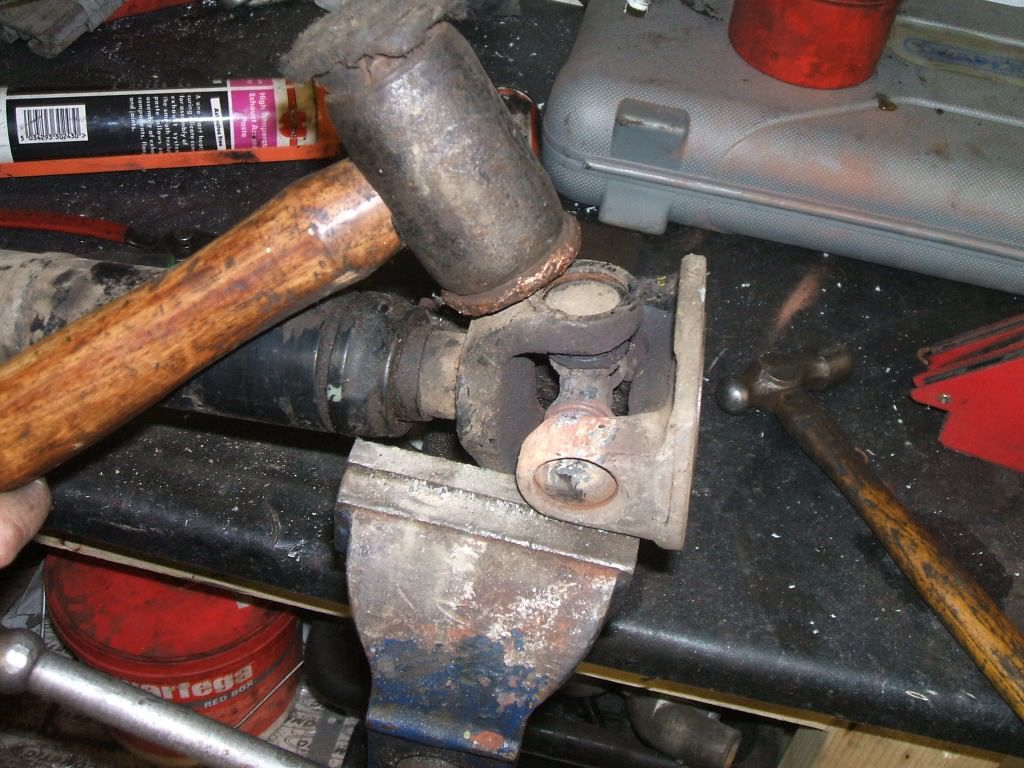


This is what you should see. 


Flip the propshaft over & repeat the processs. 
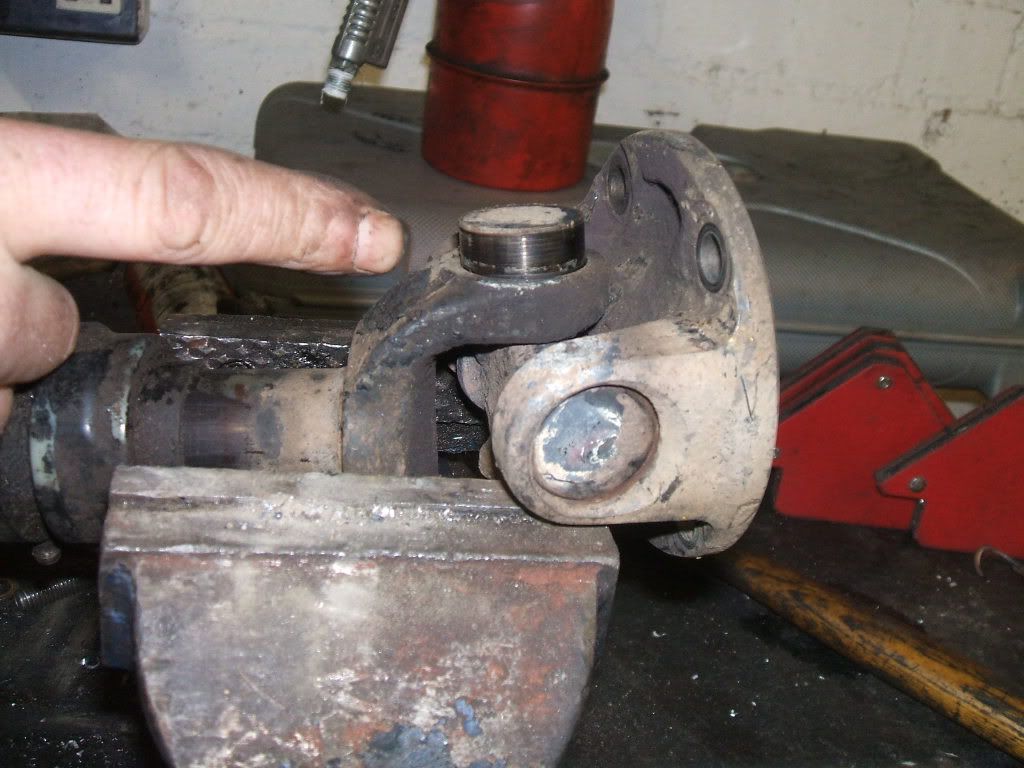


Part the 2 halves of the prop joint, you may have to remove sealing washers to achieve this.  In this case, due to wear the washers had already fallen out
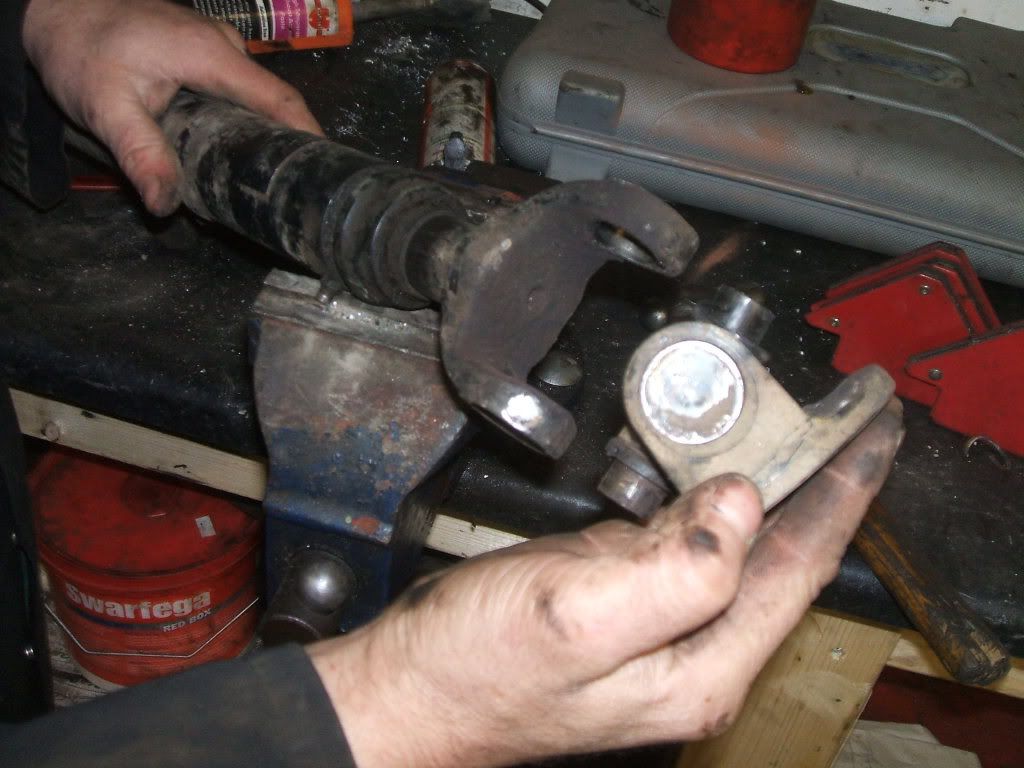


Take the other part of the propshaft & place in the vice, repeat the cup removal process as before. 
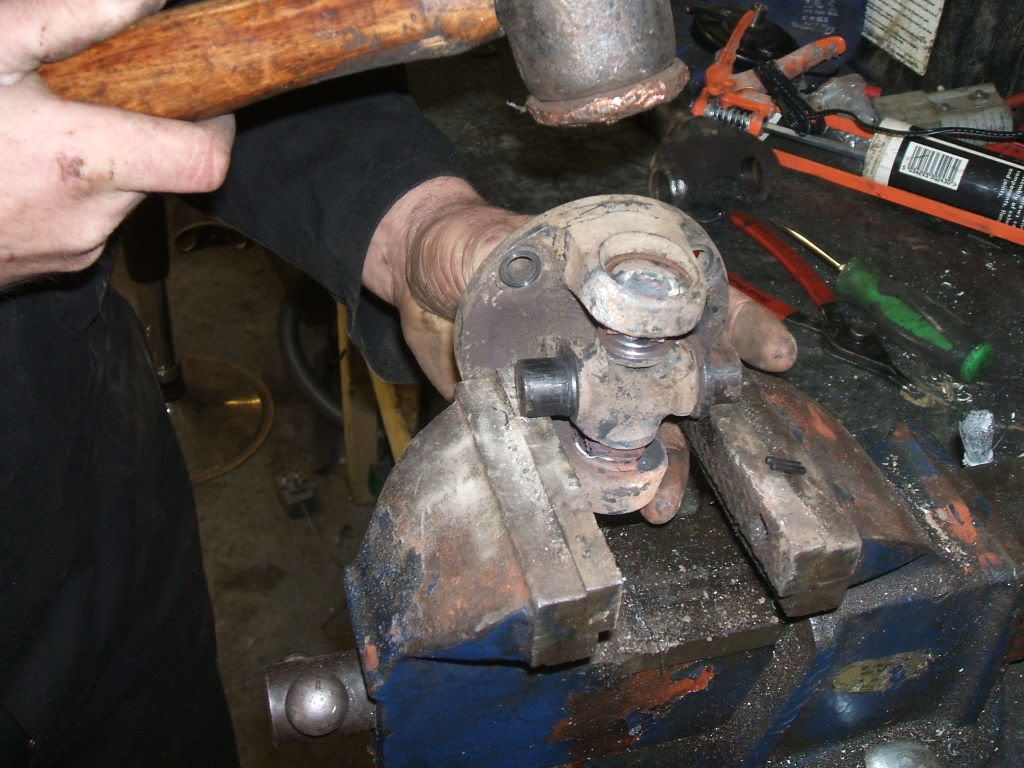


The cups should rise as before.
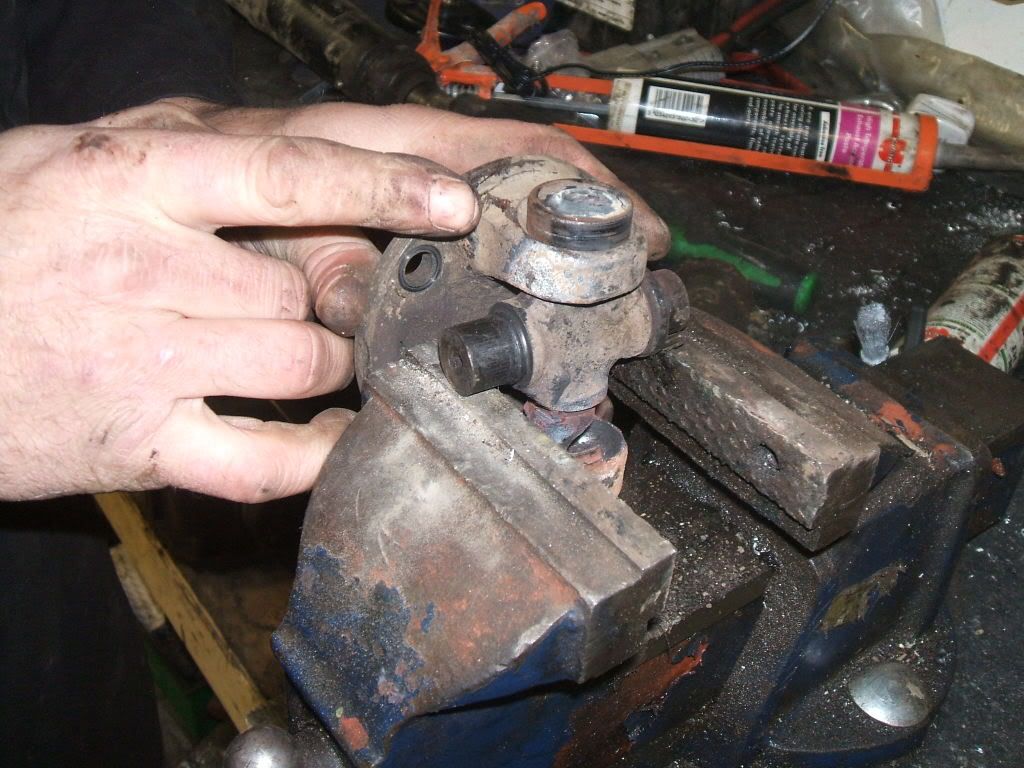


Flip joint & remove other bearing cup.
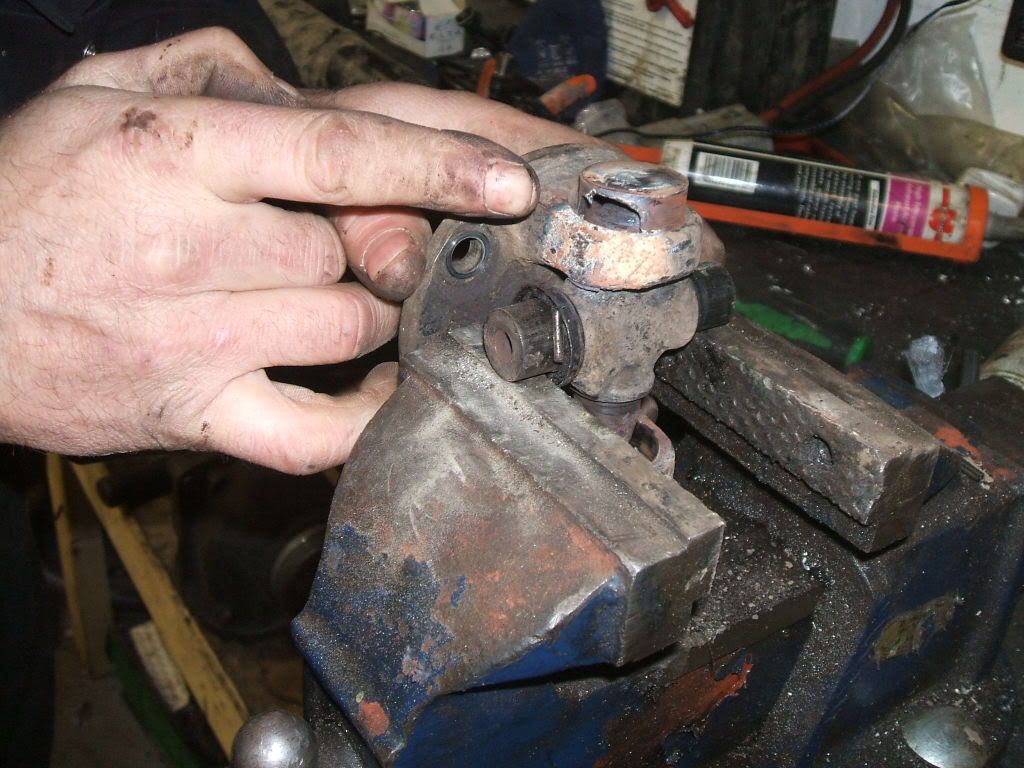


Inspect for damage, as you can see on this flange it is beyond repair.  So replace as necessary.


You may find a different design of circlip, these can be removed with pliers & a hammer.
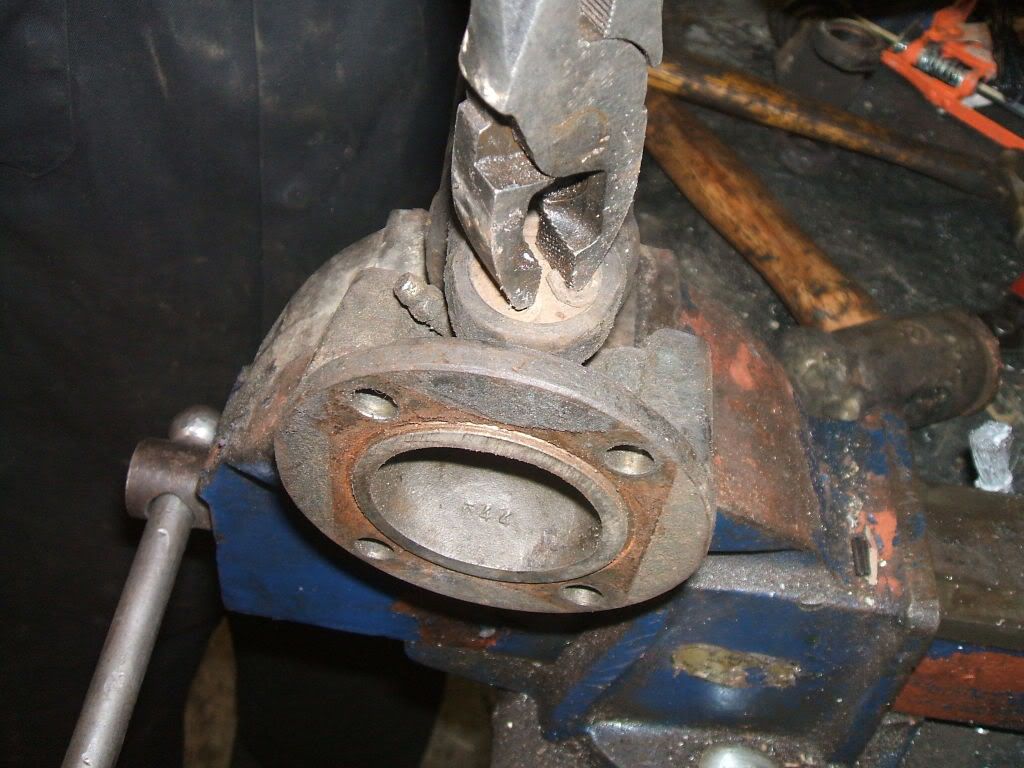


Clean all yoke surfaces, I use a rotating rubber block with a tube of sandpaper around it which fits perfectly.  Emery tape is as good. 
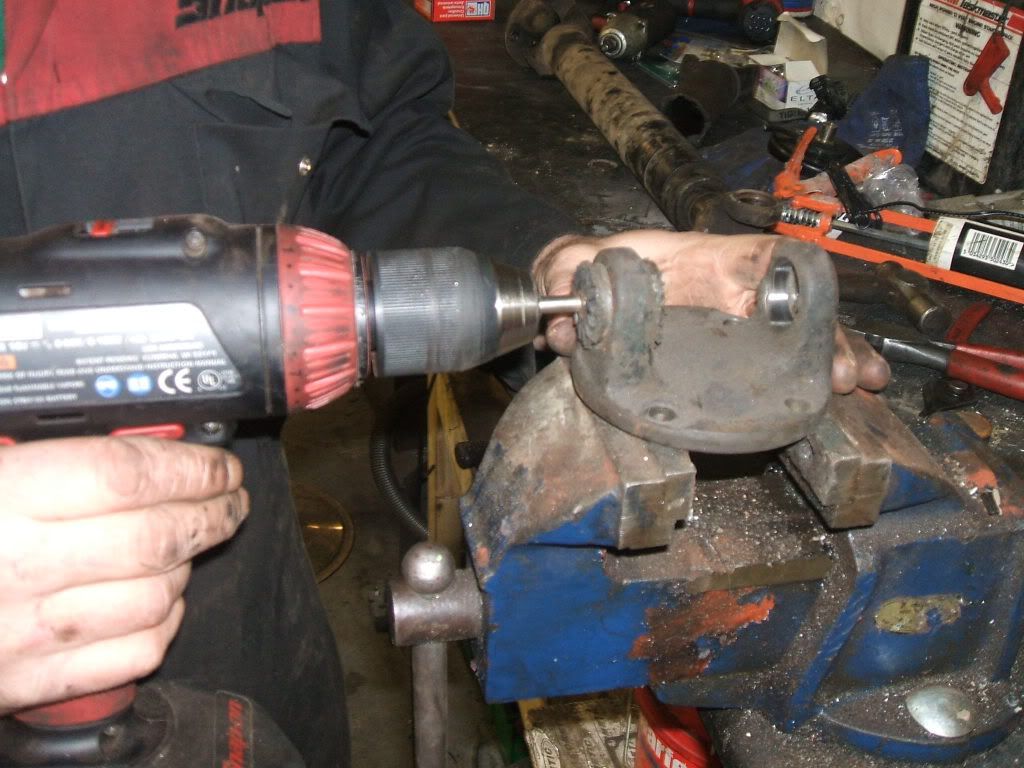


Try & use a good quality propjoint as the cheap ones don't last.  (We do carry a more than comprehensive stock!)
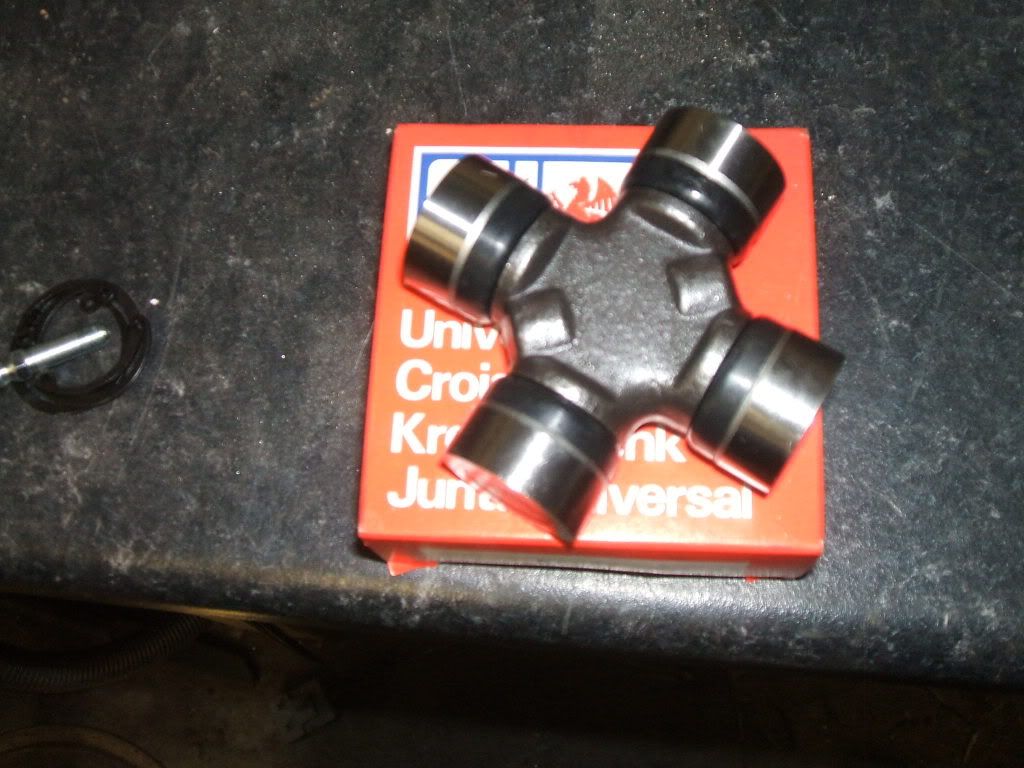


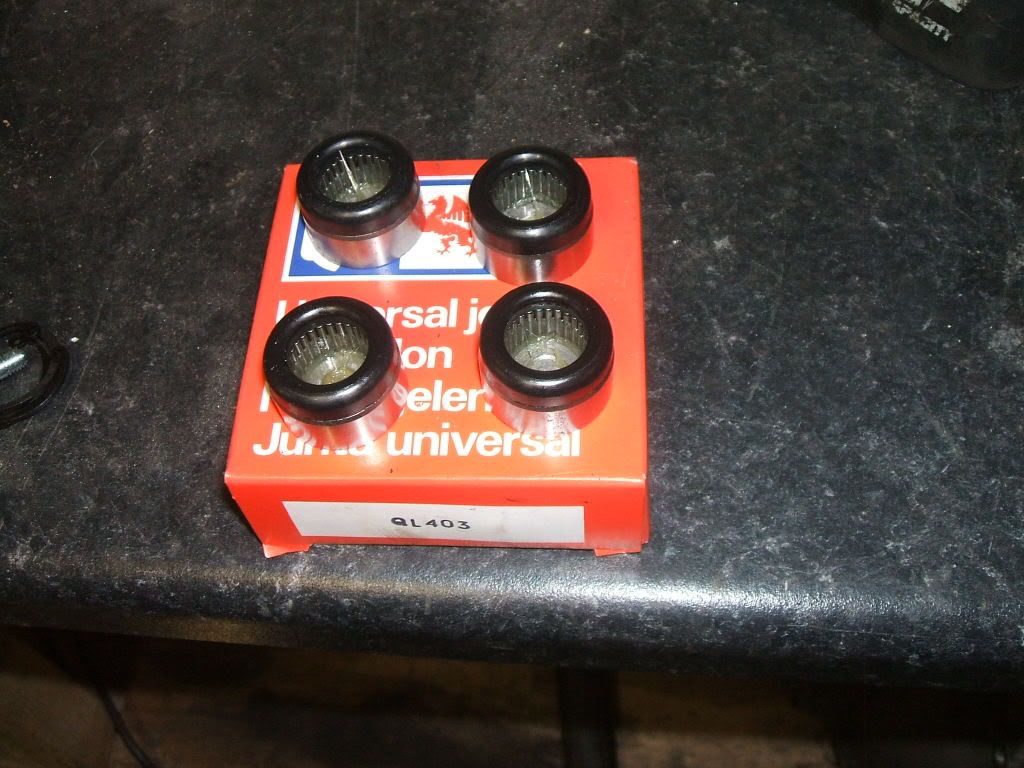
Remove all cups from spider joint do keep them clean


Place new spider into yoke,


Slide 1st cup joint onto spider, this keeps the needle bearings from falling out.
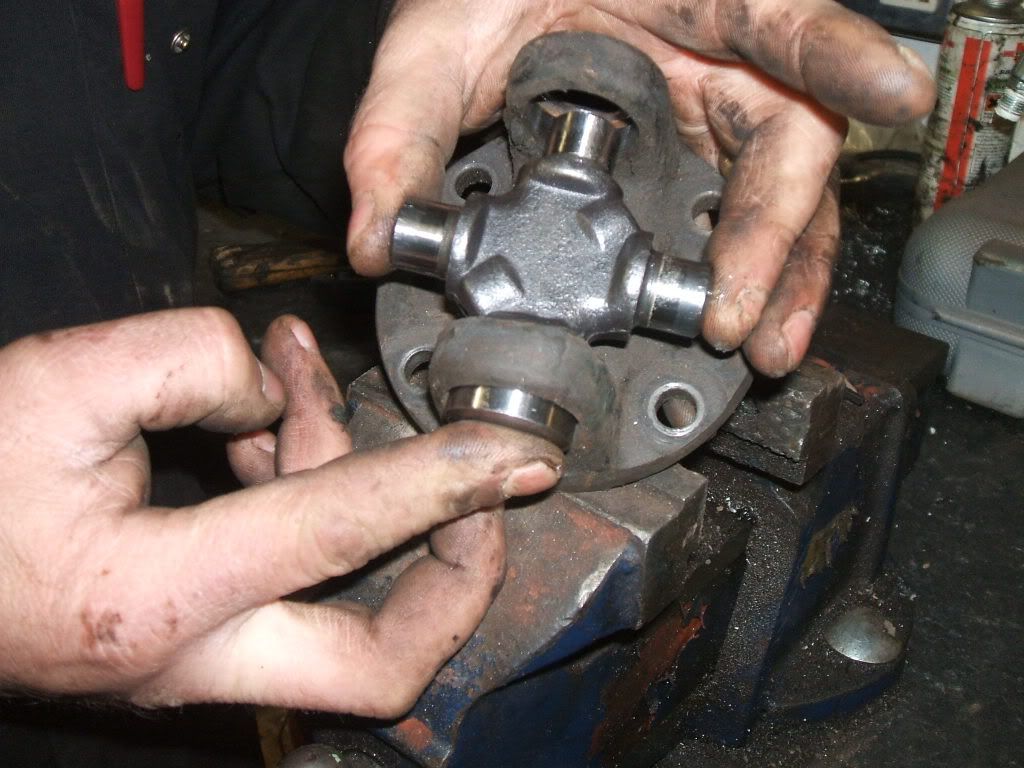


Place the other cup joint into the yoke & onto the spider, try & place spider half & half in each cup joint.
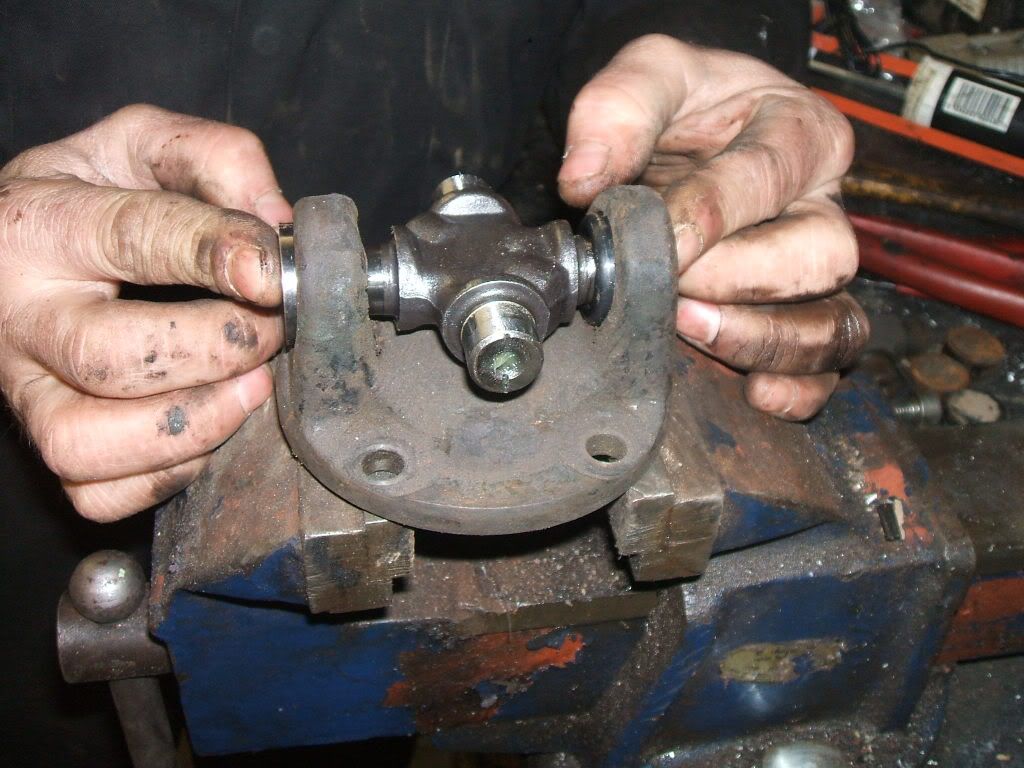


Press in 1st cup joint with an old socket until the 1st circlip groove is visible.  Then fit the clip
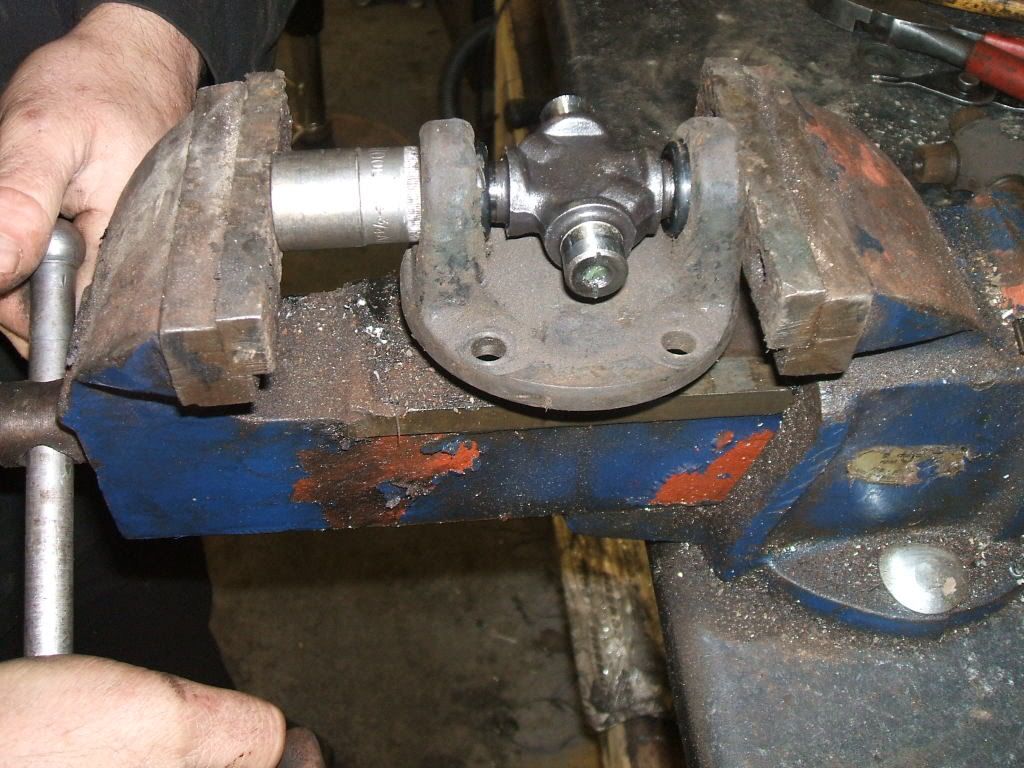


Make sure circlip groove is clean & free of debris. 
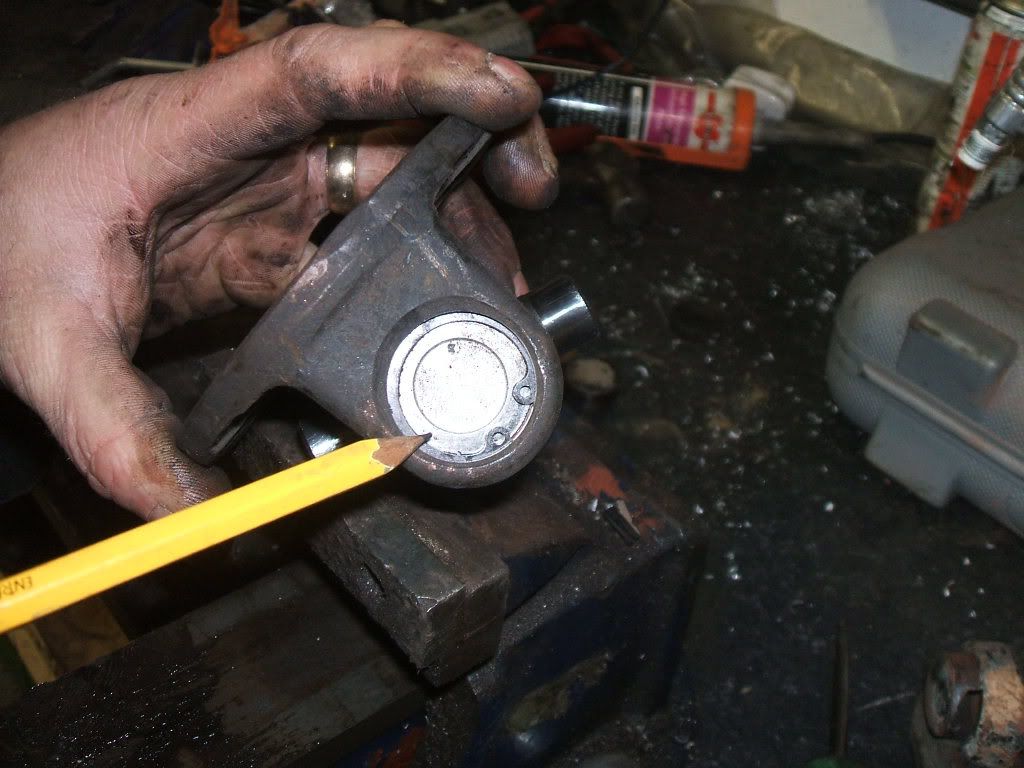


Press in 2nd cup bearing & fit circlip. 


The joint should now look like this. 


Take the other half of the prop shaft & slip the spider in to the yoke.  Make sure grease nipples are lined up with each other as this makes it easier to grease when fitted to vehicle.
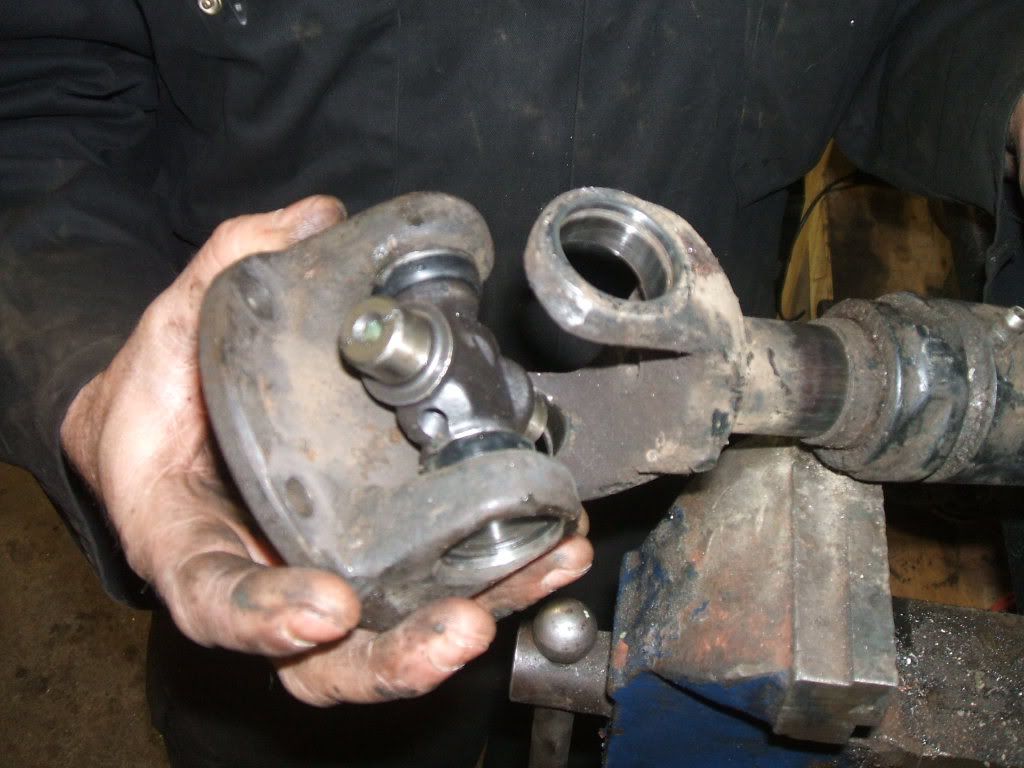


Slide cup bearings onto spider as before.  Making sure the spider is half & half in each cup. 
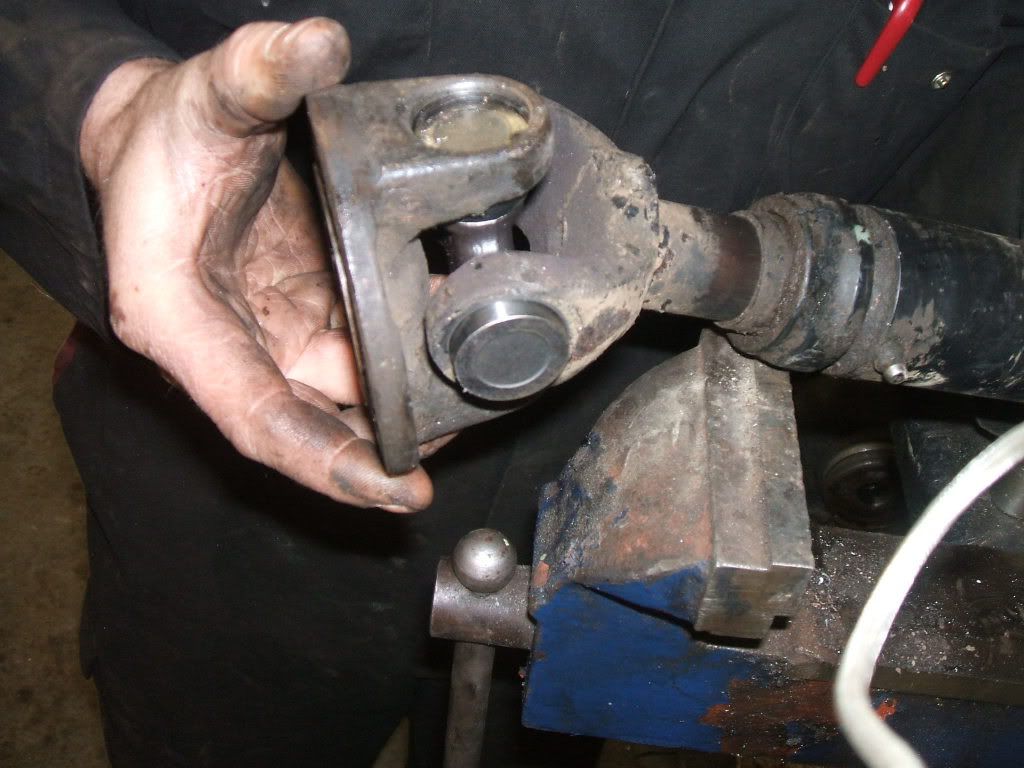


Press in 1st cup with old socket, until circlip groove can be seen.  Fit circlip. 
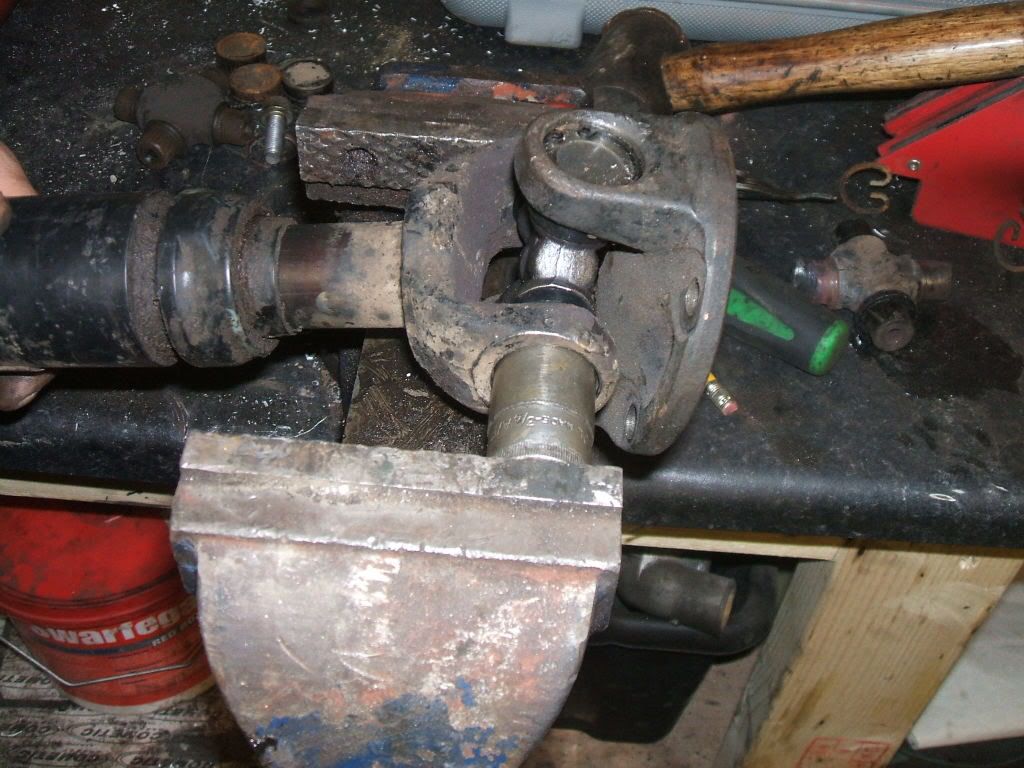


Flip prop shaft over & repeat the pressing in process on 2nd bearing cup.  Fit circlip.


Your prop shaft will now be complete.  You may find the joints are stiff to move.  Place the prop shaft over the vice as before & tap each yoke so the bearing cup moves towards the circlip.  This will free up the joint. 
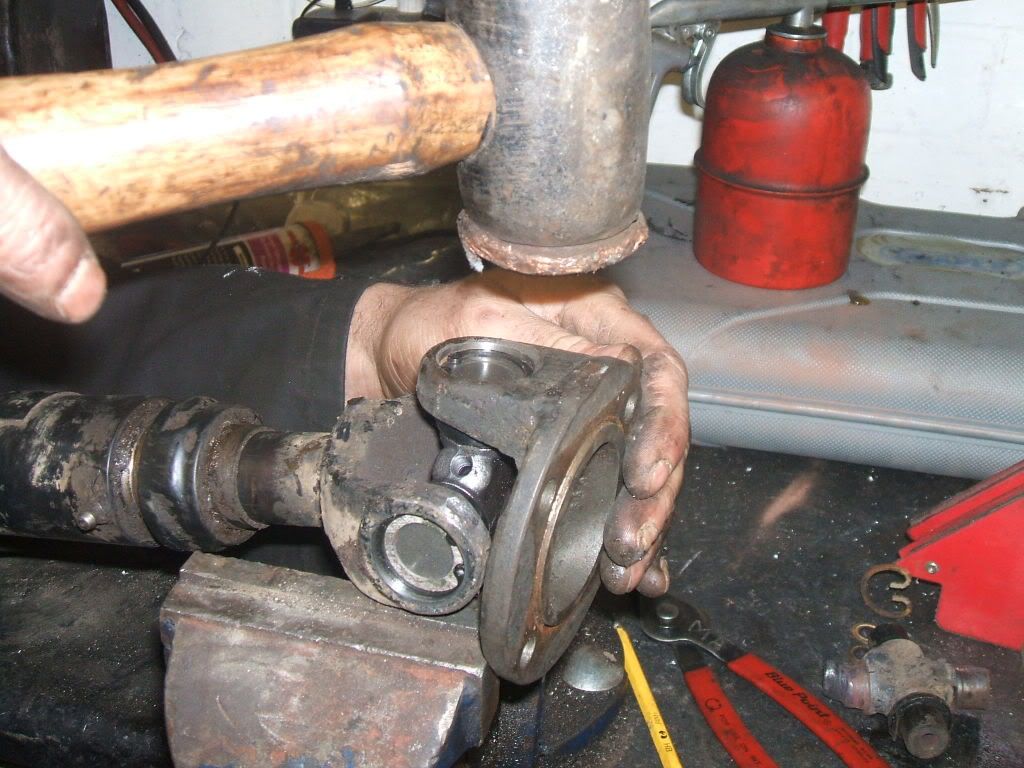


Refit grease nipples & grease joints as necessary.  Refit to vehicle using new nyloc nuts.
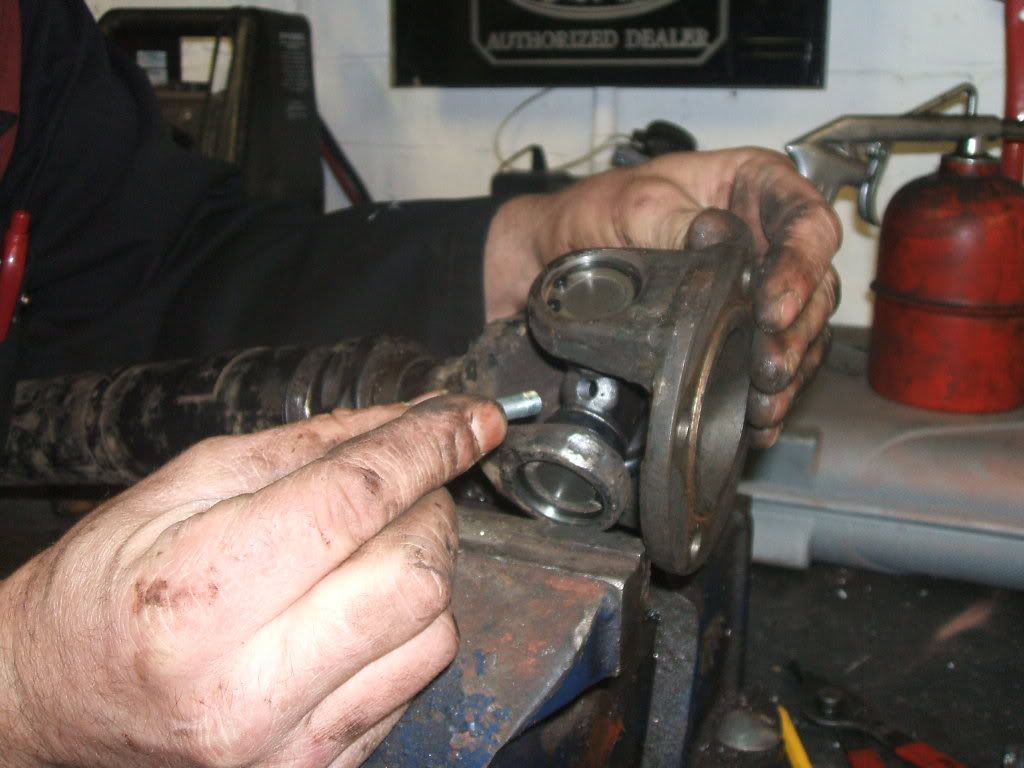


Hope this is of use to anybody who has the same issues, hope this saves you a few pounds on repair bills
« Last Edit: November 05, 2008, 15:58:29 by solihull-mick »
300 TDI Commercial Disco, ( Recovery & Parts Hack )
Series 2A Hybrid TDI( Bessie)
Mk1 escort RS2000 (my baby)
MK6 Fiesta Zetec s (wife gets the brand new car)

Offline boss

  • Posts: 1634
  • Attack: 100
    Defense: 100
    Attack Member
  • Karma: +2/-0
  • "steerings a little loose!"
  • Referrals: 0
Re: Propshaft Joint Replacement Step by Step with Pics
« Reply #1 on: November 05, 2008, 12:04:21 »
top job that man :thumbup:

"the young disco chopping maniac" -disco_stu!
www.artoffroad.com

bossFAB - stickers avalable

Offline andyb

  • Posts: 412
  • Attack: 100
    Defense: 100
    Attack Member
  • Karma: +0/-0
    • Tilshead, Wiltshire
  • Referrals: 0
Re: Propshaft Joint Replacement Step by Step with Pics
« Reply #2 on: November 05, 2008, 12:43:44 »


Good job.....and all the grease nipples end up pointing the same direction. Makes later maintenance easier too :)

Offline kiteman0

  • Posts: 123
  • Attack: 100
    Defense: 100
    Attack Member
  • Karma: +0/-0
  • Referrals: 0
Re: Propshaft Joint Replacement Step by Step with Pics
« Reply #3 on: November 05, 2008, 13:15:27 »
good write up there mick  :clap:

i'll have to sack aaron and start doing my own  :lol:

Offline muddydisco

  • Posts: 307
  • Attack: 100
    Defense: 100
    Attack Member
  • Karma: +0/-0
  • Referrals: 0
Re: Propshaft Joint Replacement Step by Step with Pics
« Reply #4 on: November 05, 2008, 18:22:43 »
 :lol: :lol: :lol:  You make me laugh kiteman0  :lol: :lol: :lol:
YOU BEND IT YOU MEND IT

rover51

  • Guest
Re: Propshaft Joint Replacement Step by Step with Pics
« Reply #5 on: September 24, 2009, 16:26:08 »
Just wanted to say a big thank you to the author of this article
It's a job i need to do on my defender - could probably do with doing the ones on the disco too
Now what i need to do is find myself a vice! :police: no not that sort of vice tut :rolleyes:

Offline big andy w

  • Posts: 33
  • Attack: 100
    Defense: 100
    Attack Member
  • Karma: +0/-0
  • Referrals: 0
Re: Propshaft Joint Replacement Step by Step with Pics
« Reply #6 on: September 24, 2009, 20:01:13 »
 :dance:great write up, will be a job im doing soon! :)


1995 M DiscoBiscuit Off road styled by hitting trees and deep ruts! :)

Offline way2deep

  • Posts: 850
  • Attack: 100
    Defense: 100
    Attack Member
  • Karma: +0/-0
  • Referrals: 0
Re: Propshaft Joint Replacement Step by Step with Pics
« Reply #7 on: July 30, 2018, 19:58:30 »
do the plastic bits inside the cups have to be removed prior to fitting
robbie
200 tdi rangie  1989  4dr


SimplePortal 2.3.5 © 2008-2012, SimplePortal